
Mild Cleaning Solution
Mix warm water with a small amount of mild dish soap.
You don’t need a strong concentration.
The goal is simply to loosen dirt and grease without exposing the rubber to unnecessarily harsh chemicals.
Dip a soft cloth or sponge into the solution and wring it out so it isn’t dripping wet.
Step 3: Clean the Entire Gasket
Wipe along the rubber seal from top to bottom.
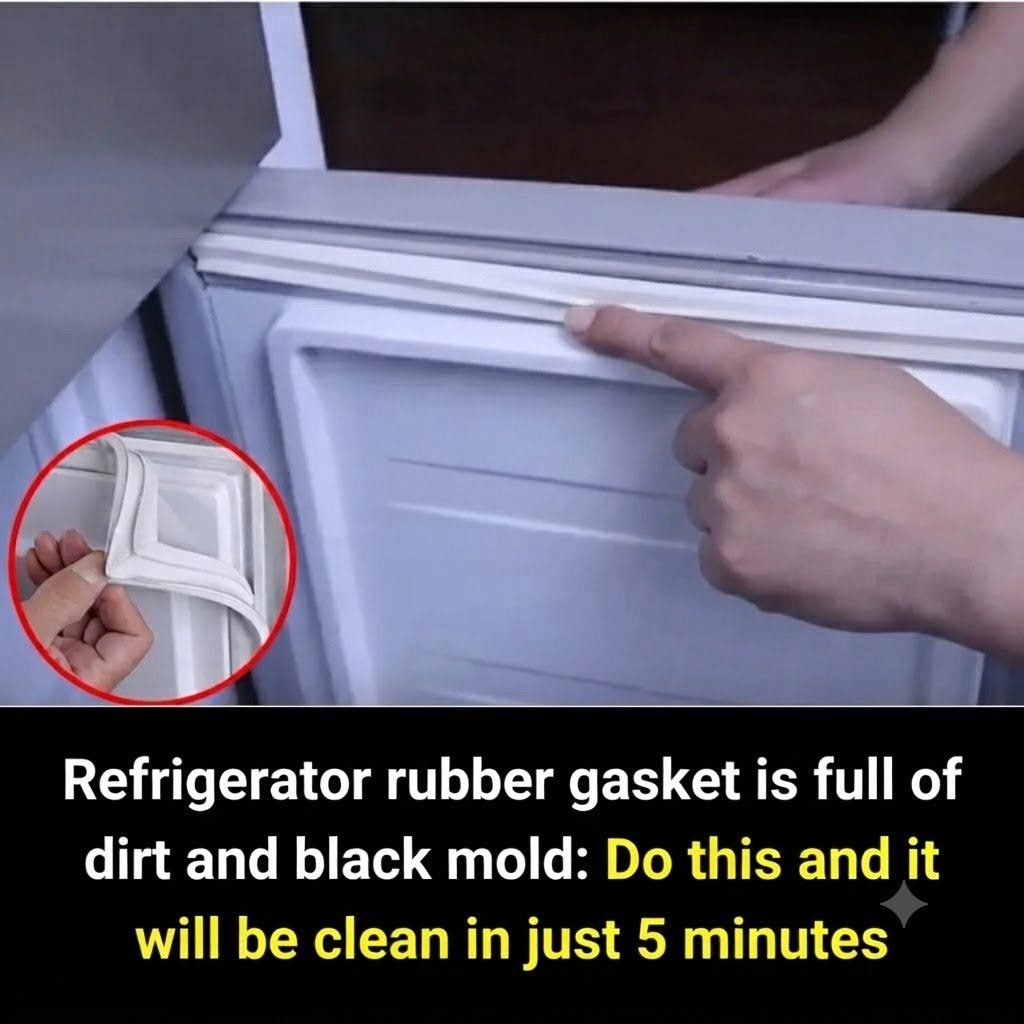
Gently pull the folds open with your fingers so you can reach areas where dirt may be hiding.
Don’t rush this step.
The corners and inner folds often contain the most buildup.
For stubborn particles, use a soft toothbrush to gently loosen them.
Avoid scrubbing aggressively because damaged rubber may no longer create a proper seal.
Step 4: Wipe Away Soap Residue
Once the dirt has been removed, use a clean damp cloth to wipe the gasket again.
This helps


